
Reheating food without a microwave is a lot easier than most people think, and honestly, the results are almost always better. Using your oven, stovetop, or air fryer is the secret to bringing leftovers back to life. These methods use a gentle, even heat that restores the food's original texture and flavor, sidestepping that dreaded sogginess microwaves are famous for.
Why You Should Ditch Your Microwave for Reheating Food
We’ve all been there. You nuke your leftovers, and what you get is a culinary tragedy. The convenience is hard to beat, but the rubbery chicken, soggy pizza, or pasta that’s somehow both molten and ice-cold is a real letdown. It’s no wonder so many of us are going back to basics and reheating food the old-fashioned way.
The real difference is in how the heat works. Microwaves blast water molecules with radiation, essentially steaming your food from the inside out. It's fast, but it’s also violent and uneven, which is why textures go so wrong. An oven or a skillet, on the other hand, heats food from the outside in with radiant or direct heat. This approach is gentler, preserving moisture where you want it and bringing back crispiness where it belongs.
Enhancing Flavor and Texture
Using the stovetop or oven isn't just about damage control; it's about making your leftovers fantastic. These methods give flavors a chance to meld and deepen, often making the second-day version even tastier than the first.
A hot skillet can perfectly re-crisp the skin on a piece of salmon or give a quesadilla its crunch back. An oven will return a slice of lasagna to its bubbly, cheesy perfection without turning the pasta into mush. A microwave just can't compete. For those looking for quick, crispy results, especially with snacks, our guide to air fryer snack ideas has tons of great tips.
A Smarter Approach to Food Waste
Getting better at reheating is also a huge step toward cutting down on food waste. Let's be real—if leftovers taste good, we’re far more likely to eat them. This simple habit is a cornerstone of zero-waste cooking, which is more important than ever.
It's pretty shocking to learn that about one-third of all food produced globally—a massive 1.3 billion tons a year—ends up lost or wasted. By making our leftovers genuinely delicious, we make sure more of the food we buy actually gets eaten. You can dig deeper into the global food crisis on fsinplatform.org.
By choosing to reheat food with care, you're not just improving your meal—you're making a conscious decision to value your food, save money, and contribute to a more sustainable kitchen. It’s a small shift in habit with a significant impact on both your plate and the planet.
Mastering Your Oven for Flawless Reheating Results
Your oven is the unsung hero of the kitchen when it comes to reviving leftovers. It uses gentle, ambient heat that warms food from the outside in, which is the secret to bringing it back to its original glory. Whether you have a full-sized conventional oven or a nimble toaster oven, the principles are the same.
This method truly excels at restoring textures that microwaves just obliterate—think crispy skins, perfectly melted cheese, and tender interiors. Honestly, it's my go-to for pretty much everything that isn't a soup or stir-fry.
The Low and Slow Approach for Hearty Dishes
For denser, layered dishes like casseroles, lasagna, or enchiladas, patience is your best friend. The goal is to heat the dish all the way through without drying out the edges or, even worse, leaving the center cold. This is where the low and slow method really shines.
I usually set my oven to a moderate temperature, somewhere between 325°F and 350°F. Before it goes in, I cover the dish tightly with aluminum foil. This step is non-negotiable; it traps steam and prevents the food from drying out as it reheats.
A personal favorite, leftover lasagna, takes about 20-30 minutes to get hot and bubbly again. For the last five minutes, I’ll pull off the foil to let the cheese on top get a little brown and crispy, making it taste like it was just baked.
High Heat for Maximum Crispiness
On the flip side, some foods need a quick blast of high heat to bring back that signature crunch. We're talking about leftover pizza, french fries, or anything that was originally breaded or fried. For these, preheating your oven is an absolute must.
For pizza, I'll place the slices directly on the oven rack or on a preheated pizza stone at 375°F for about 8-10 minutes. This little trick makes the crust wonderfully crispy while the cheese melts perfectly. A baking sheet works in a pinch, but putting the slices right on the rack gives the bottom crust much better air circulation.
Fried chicken is another perfect example. To sidestep a soggy mess, I place the pieces on a wire rack set inside a baking sheet.
- The Wire Rack Advantage: This setup allows hot air to circulate all around the chicken, crisping it from every angle at once.
- Temperature and Time: A quick 10-15 minute trip to a 400°F oven is all it takes to make that skin shatteringly crisp again.
The oven's secret lies in its combination of radiant and convective heat, giving you total control over the final texture. You can choose to trap moisture for juicy results or encourage evaporation for crispy perfection—a versatility a microwave simply can't match.
The infographic below really drives home the benefits you get when you step away from the microwave.
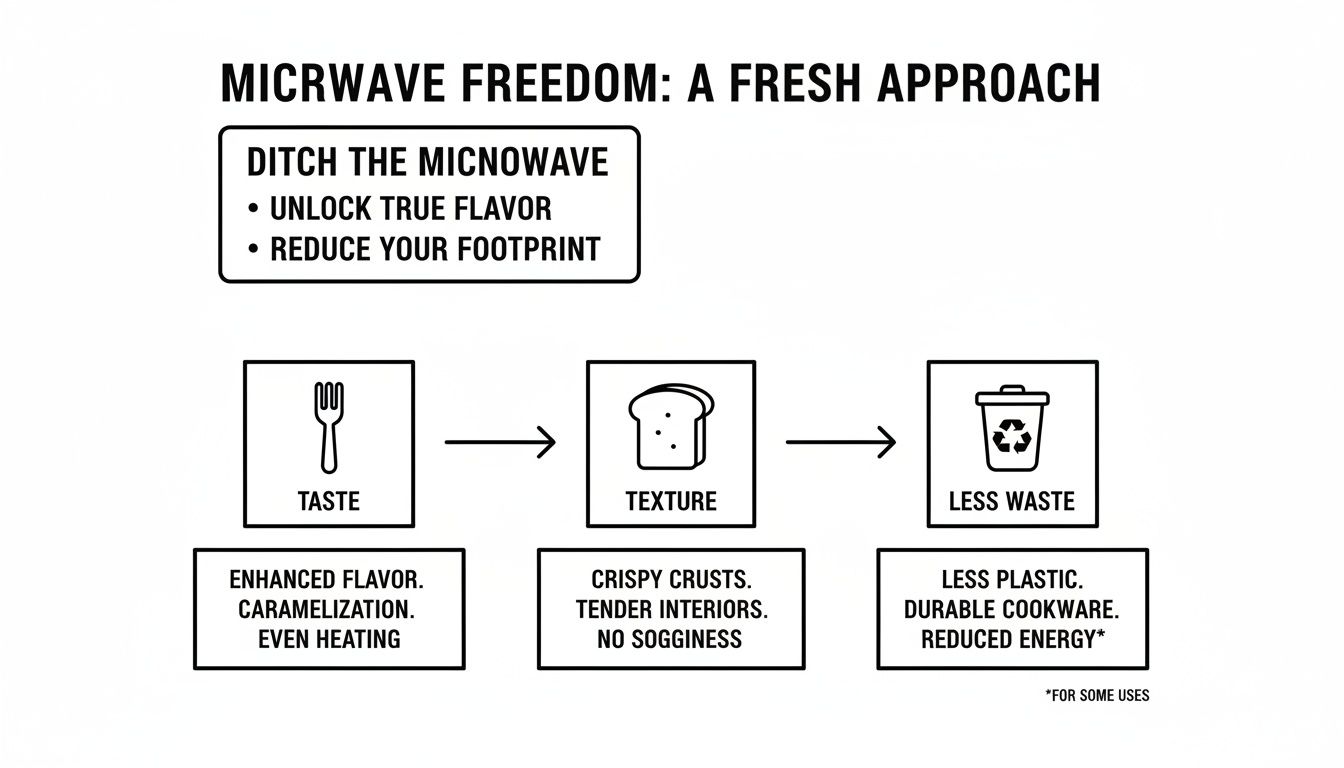
This visual shows how ditching the microwave not only improves taste and texture but also helps you cut down on food waste.
Oven Reheating Cheat Sheet
To make things even easier, I've put together a quick-reference chart for some of the most common leftovers. Think of this as your go-to guide for getting things just right.
| Food Type | Best Temperature (°F) | Estimated Time (Mins) | Pro Tip |
|---|---|---|---|
| Pizza Slices | 375°F | 8-10 | Place directly on the rack for a crispy crust. |
| Lasagna/Casserole | 350°F | 20-30 | Cover tightly with foil to retain moisture. |
| Fried Chicken | 400°F | 10-15 | Use a wire rack over a baking sheet for 360° crispiness. |
| Roasted Chicken | 325°F | 15-20 | Add a splash of broth and cover with foil. |
| French Fries | 400°F | 5-8 | Spread in a single layer on a baking sheet. |
| Muffins/Bread | 350°F | 5-7 | Wrap in foil or add a pan of water for steam. |
Remember, these are just starting points—every oven is a little different, so feel free to adjust as you get a feel for yours.
Preserving Moisture in Meats and Baked Goods
One of the biggest hurdles when reheating without a microwave is preventing roasted meats or delicate baked goods from turning into a dry, sad version of their former selves. My secret weapon is adding a little moisture back into the oven's environment.
When I reheat a slice of roasted chicken or a pork chop, I put it in an oven-safe dish with a small splash of broth or water. Covering it with foil traps that steam, gently rehydrating the meat as it warms up at around 325°F.
This trick also works wonders for baked goods like muffins or a slice of bread. A quick trip to a 350°F oven for about 5-7 minutes can make them taste like they just came out of the bakery. For an extra boost, place a small, oven-safe dish of water on a separate rack to create a nice, humid environment.
Using the Stovetop for Quick and Flavorful Reheating
When you're short on time but still want fantastic results, your stovetop is the best tool for the job. Using a skillet or saucepan isn't just about warming things up; it can actually reawaken textures and deepen flavors in ways a microwave simply can't. Honestly, it's my go-to for almost anything that gets better with a bit of direct heat, from last night's stir-fry to a hearty soup.
That direct contact with the pan’s surface creates a sizzle that restores so much character to your leftovers.
Reviving Sauces, Soups, and Stews
Liquids like soups, sauces, and chilis were practically made for the stovetop. The real trick here is gentle, even heating. You want to avoid that dreaded scenario where the bottom is scorched while the top is still stone cold.
I always pour the leftovers into a saucepan over low or medium-low heat. Patience is everything—cranking the burner to high is a surefire way to ruin your meal. A good stir every minute or so is all it takes to distribute the heat and bring everything up to temperature gradually. If a pasta sauce has gotten a little too thick overnight, I'll add a small splash of broth or water to bring it back to its original, perfect consistency.
The Skillet Method for Grains and Stir-Fries
Leftover rice and stir-fries are notorious for getting dry and clumpy, but a skillet brings them right back to life. I start by adding just a touch of neutral oil or butter to a non-stick skillet over medium heat. Once it shimmers, in goes the rice or stir-fry. I use a spoon to break up any large clumps.
The secret weapon here is a tiny bit of moisture. I add about a tablespoon of water and immediately pop a lid on the skillet. This creates a quick burst of steam that rehydrates everything beautifully. After a minute or two, I take the lid off and stir until any extra moisture cooks off. You're left with fluffy, separate grains of rice and perfectly tender-crisp veggies.
Ditching the microwave for the oven or stovetop can have a surprising environmental upside. An oven set to 325°F for 10-15 minutes reheats meats evenly, helping them retain 85% of their moisture compared to just 60% in a microwave. Stovetop techniques also fit well with sustainable eating habits that focus on reducing food waste, a topic covered in this report on sustainable food levers from phys.org.
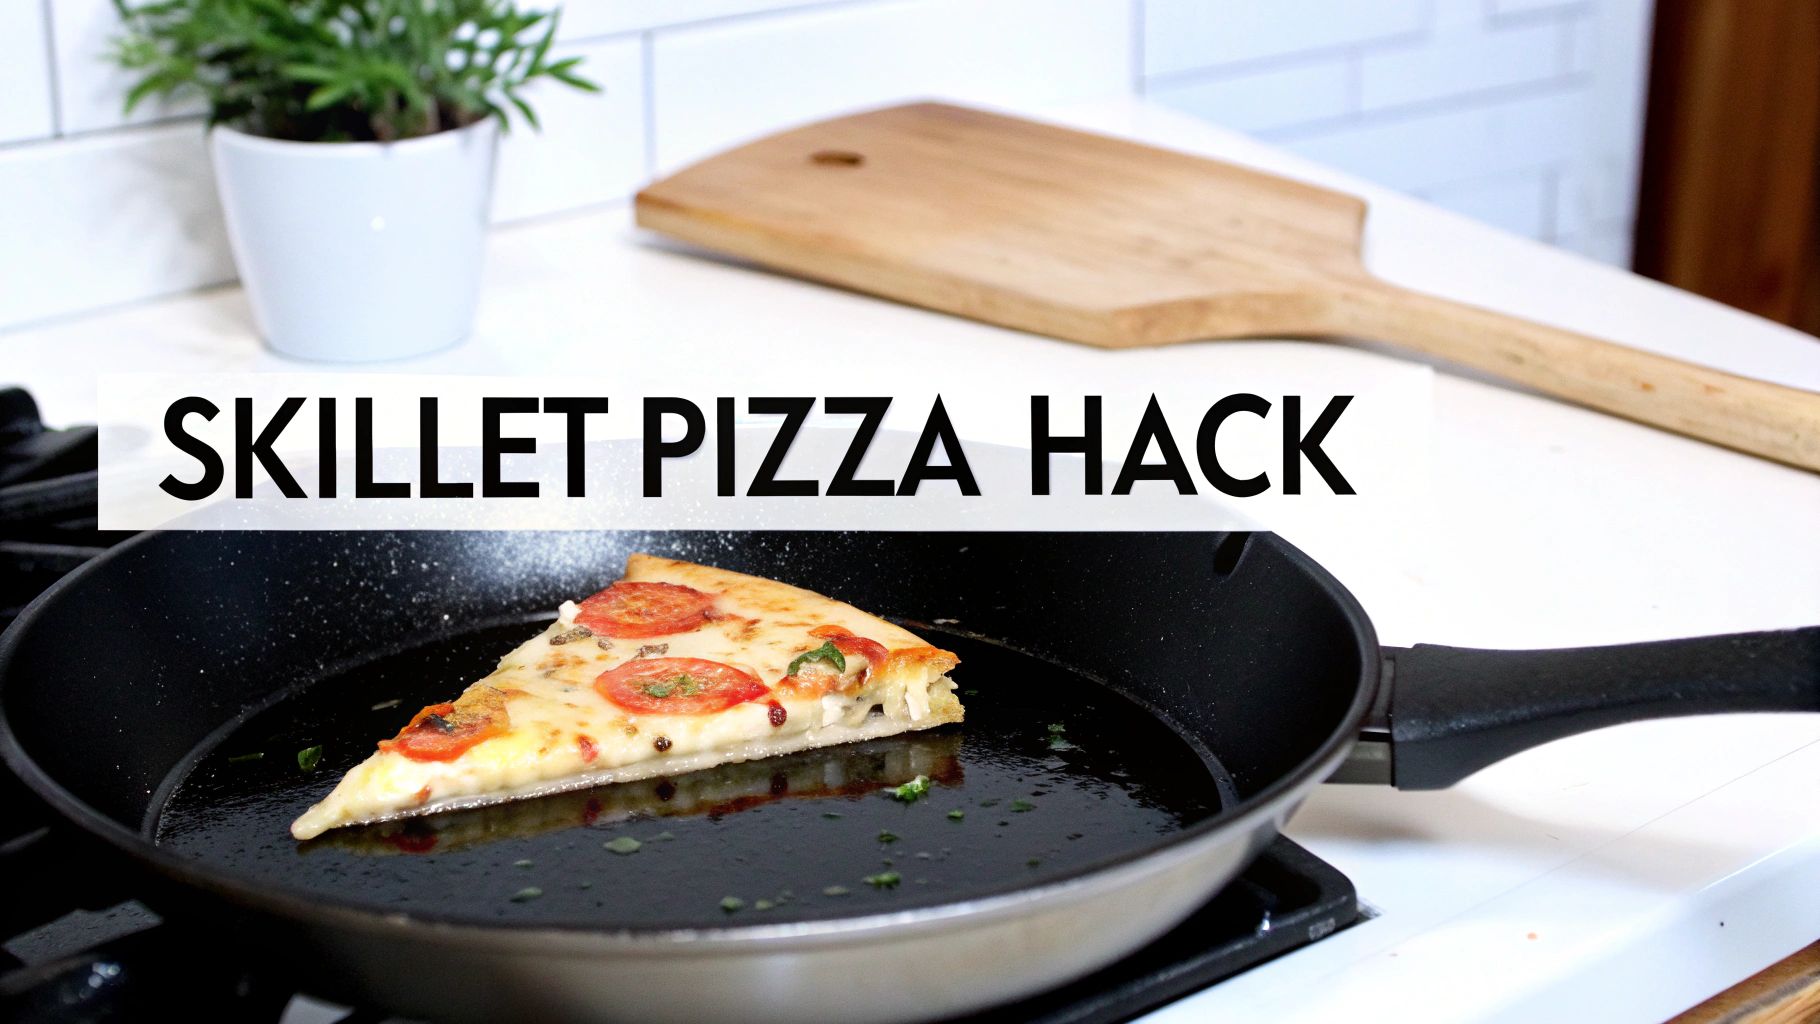
The Viral Pizza Hack That Actually Works
If you've never tried reheating pizza in a skillet, you are seriously missing out. This trick went viral for a good reason: it gives you a crispy, crunchy crust and perfectly gooey, melted cheese every single time. It's hands-down the best way to revive a leftover slice.
Here’s my exact process for one or two slices:
- Start Cold: Place your slices in a cold, non-stick skillet, then turn the heat to medium-low. This lets the pizza heat up with the pan, which keeps the bottom from burning before the cheese has a chance to melt.
- Get it Crispy: Let the pizza heat for about 2-3 minutes, uncovered. You’ll hear that satisfying sizzle as the crust gets nice and crisp.
- Add a Little Steam: This is the magic part. Add just a few drops of water into the pan—away from the pizza itself—and immediately cover the skillet with a lid.
- Melt the Cheese: The trapped steam circulates and melts the cheese and toppings in about a minute, making them taste like they just came out of the oven.
This simple two-step process takes care of the two most important parts of a great slice: a firm base and a perfectly melted top. It’s a total game-changer that will make you swear off microwaved pizza for good.
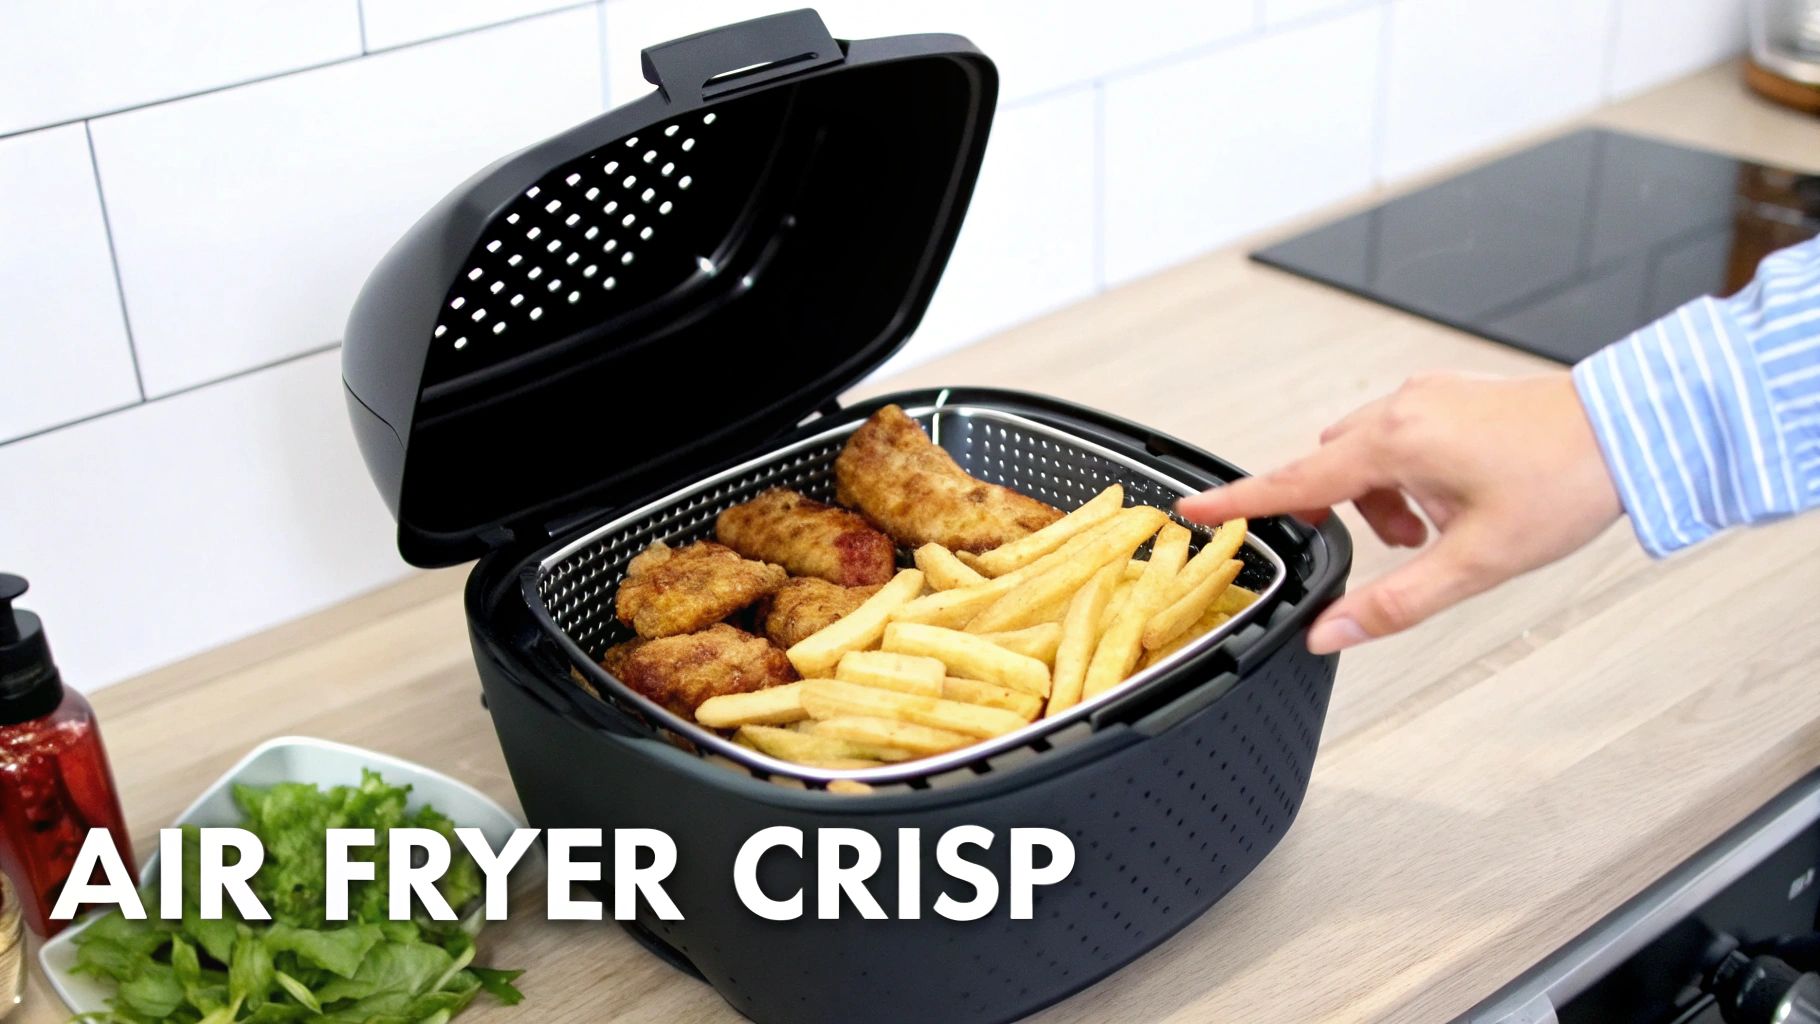
How to Use an Air Fryer to Revive Leftovers
If you're not using your air fryer to reheat leftovers, you're missing out on one of its greatest talents. This isn't just about warming things up; it's about bringing food back to life, especially anything that's supposed to be crispy. The secret is the machine's powerful convection fan, which blasts hot air all around the food, mimicking deep-frying with barely any oil.
Honestly, the air fryer is my go-to for reviving yesterday's french fries, chicken wings, or breaded fish. It magically restores that original crunch you thought was gone for good after a night in the fridge, and it only takes a few minutes.
Key Principles for Air Fryer Reheating
Getting great results from your air fryer really boils down to two things: give your food space and keep things moving. The biggest mistake I see people make is cramming the basket full. When food is piled up, it just steams, and you'll end up with a soggy disappointment instead of a crispy treat.
Always spread your leftovers in a single, even layer. If you've got a lot to heat, you're much better off working in a couple of small batches. A quick shake of the basket halfway through also makes a world of difference—it ensures every side gets hit with that hot, circulating air for a perfectly even, golden finish.
Temperature and Time Guidelines
Figuring out the right settings is key, and while every model is a little different, these are the starting points that I’ve found work best for most common leftovers.
- French Fries or Tater Tots: This is where the air fryer really shines. I set mine to 375°F for about 3-5 minutes. Don't forget to give the basket a good shake halfway through to get them all perfectly crispy again.
- Fried Chicken or Chicken Wings: To bring back that crunchy skin without turning the meat into jerky, I use 375°F for 4-6 minutes. Just be sure the pieces aren’t touching so the skin can crisp up all over.
- Pizza Slices: A single slice usually fits perfectly. A quick 3-4 minutes at 350°F is all it takes for a crispy crust and perfectly melted, gooey cheese. It’s a total game-changer for leftover pizza.
- Roasted Vegetables: Leftover broccoli, Brussels sprouts, or asparagus get a second chance after 3-5 minutes at 400°F. That high heat helps re-caramelize the edges and brings back all that great flavor.
It's not just for savory leftovers, either. You can even warm up baked goods perfectly. Our guide on making a bagel in an air fryer is a great example of just how versatile this appliance can be.
The magic of the air fryer is how it combines intense heat with rapid air circulation. This one-two punch quickly evaporates any surface moisture, which is the secret to restoring that satisfying crunch without overcooking the food.
This approach fits perfectly with a more mindful way of eating. Using appliances like air-fryer ovens, often set to 400°F for crisping, taps into the modern desire for healthy convenience. It's also a fantastic tool for zero-waste cooking, a major trend focused on repurposing leftovers. This simple habit can help households cut down on food waste by up to 35%.
Foods to Avoid Reheating in an Air Fryer
As great as the air fryer is, it's not the right tool for everything. Some foods will just create a massive mess or even a fire hazard.
Steer clear of anything with a wet batter, like tempura, because it will just drip right through the basket and burn. Soups, stews, and other saucy dishes are also a definite no—they'll splatter everywhere. And be careful with anything covered in a lot of loose cheese, like nachos. The cheese can easily melt, drip down, and burn onto the heating element, creating a smoky, stinky mess that's a nightmare to clean. For those kinds of foods, the stovetop or oven is still your best bet.
Essential Food Safety for Reheating Leftovers
Let's be honest, enjoying leftovers is one of the best kitchen hacks for saving time and cutting down on food waste. But it shouldn't feel like a gamble. When you're reheating food without a microwave, getting it genuinely safe to eat is just as important as getting it warm.
A few simple food safety rules can give you total peace of mind, so you can enjoy every last bite without a second thought.
The big idea here is something called the temperature danger zone. This is the range between 40°F and 140°F, and it's basically a playground for bacteria like Salmonella and E. coli. If your food hangs out in this zone for too long, those germs can multiply like crazy.
The Two-Hour Rule and Cooling Smart
Food safety doesn't start when you reheat—it starts the moment you're done eating the first time. You should never leave cooked food sitting out at room temperature for more than two hours. If it's a hot day, like at a summer barbecue where it's over 90°F, that window shrinks to just one hour.
When it's time to pack things up, don't just shove a giant, steaming pot of chili into the fridge. That's a bad move. It can actually raise the overall temperature inside your refrigerator, putting all your other food at risk.
Instead, a much better approach is to divide large batches into smaller, shallow containers. This gives the food more surface area, allowing it to cool down much faster before it even goes into the fridge.
Reaching the Magic Number: 165°F
When you're ready to warm up your meal, the goal is to get it piping hot all the way through—not just lukewarm. The magic number for all leftovers is 165°F (74°C). Hitting this internal temperature is your guarantee that you've killed off any nasty bacteria that might have popped up during storage.
So, how do you know you've actually reached 165°F? You can't just guess.
Your absolute best friend here is a food thermometer. You can't tell if food is safe just by looking at it or touching it. A simple instant-read thermometer is one of the smartest, cheapest investments you can make for a safer kitchen.
When you take the temperature, make sure you stick the probe into the thickest part of the food, and try to avoid hitting any bones. For things like soups or sauces, give everything a good stir first to make sure the heat is evenly distributed before you take a reading.
Know When to Reheat and When to Toss It
Not all leftovers are worth saving. A little common sense goes a long way in deciding what's safe to eat.
- Reheat Just Once: This is a big one. Try to only reheat leftovers one time. Every time you cool and reheat food, you're giving bacteria another chance to grow. If you made a big pot of soup, just portion out what you plan to eat now and reheat that.
- The Three-Day Guideline: Most leftovers are perfectly safe for up to three or four days if they're stored correctly in the fridge. Beyond that, the risk just isn't worth it. If you know you won't get to it in time, your freezer is the best place for it.
- Trust Your Senses: Before you even start, give your food a quick check. Does it smell off? Does it have a weird, slimy texture? Can you see any mold? If the answer is yes to any of these, don't even think about it. Throw it out immediately. When in doubt, toss it out.
Following these simple tips will make sure your second-day meals are just as delicious—and completely safe—as they were on the first day.
Your Reheating Questions Answered
Even when you know the basics, sometimes you run into a specific food that leaves you scratching your head. Leftovers can be tricky, and a few common culprits always seem to cause trouble.
Here are my answers to some of the most frequent reheating questions I get, with simple, practical solutions for those everyday kitchen challenges.
What Is the Best Way to Reheat Rice Without It Becoming Dry and Hard?
We've all been there. That leftover rice in the fridge has turned into a dry, clumpy brick. Don't worry, bringing it back to life is surprisingly simple, and my go-to method is the stovetop.
Just toss the rice into a small pot with a splash of water or broth—I find about one tablespoon of liquid per cup of rice is the magic ratio. Clamp on a tight-fitting lid and warm it over low heat for about five minutes. The steam gets trapped inside, gently rehydrating every single grain until it's soft and fluffy again.
Got a bigger batch? The oven works wonders, too. Spread the rice in a baking dish, sprinkle it with your liquid, cover it tightly with foil, and pop it in a 300°F oven for 15-20 minutes.
The key to reviving rice is steam. Whether you create it in a covered pot on the stove or under foil in the oven, that gentle moisture is what separates the grains and restores their tender texture without turning them to mush.
This is just one of many simple tricks you can use to make leftovers amazing. For more handy kitchen tips and recipes, especially for your air fryer, you can explore the articles on our air fryer snack ideas blog.
Can I Reheat Soup or Stew in a Slow Cooker?
Absolutely! Using a slow cooker is a fantastic, hands-off way to reheat soups, stews, chilis, or really any big batch of liquidy leftovers. It heats everything so gently and evenly that you completely avoid the risk of scorching the bottom of the pot—something that can easily happen on the stove if you get distracted.
Simply pour your leftovers into the slow cooker, set it to low, and let it do its thing for one to two hours. It’s the perfect set-it-and-forget-it solution for having a hot meal waiting for you later. Just make sure you check that it reaches a food-safe 165°F with a thermometer before serving.
How Do I Reheat Pasta with Sauce Without It Getting Oily or Mushy?
Reheating sauced pasta is a delicate dance. You have to warm it through without the sauce breaking and turning into an oily mess or the noodles overcooking into mush. Your best friend here is a skillet on the stovetop over medium-low heat.
Add the pasta to the pan, but also add a tablespoon or two of water or broth. This little bit of extra liquid is the secret weapon; it creates just enough steam to gently heat everything while keeping the sauce from separating.
Stir gently but often for about 5-10 minutes, just until it's heated through. The most important rule? Avoid high heat at all costs. Blasting your pasta will make it stick and will completely ruin the texture of both the noodles and the sauce. A little patience goes a long way, and your leftover pasta can taste just as good as it did on night one.
At airfryersnackideas.com, we're all about making kitchen life easier and more delicious, one snack at a time. Explore our collection of recipes and tips to get the most out of your air fryer.