
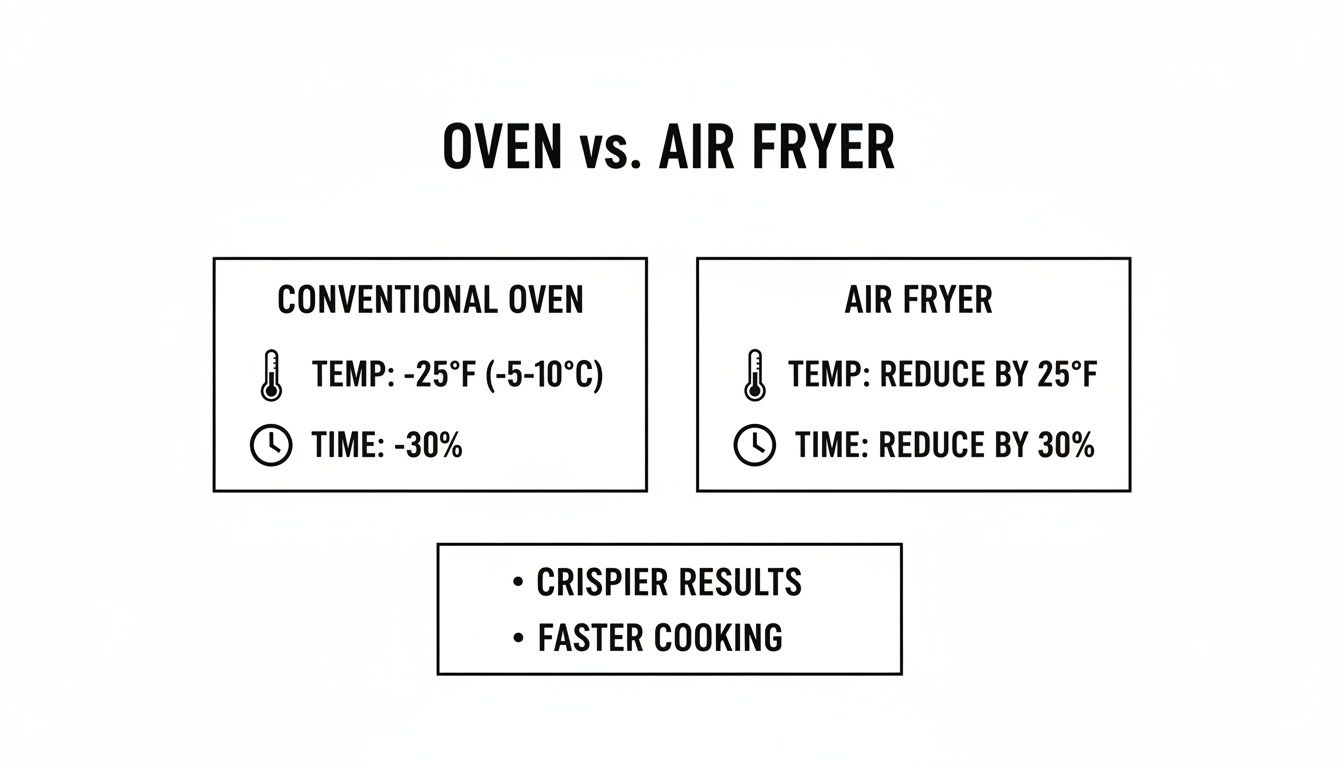
Ready to get that perfect air-fried crunch from your favorite oven recipes? The secret to any successful oven to air fryer conversion is pretty straightforward: you need to lower the temperature and reduce the cooking time. A great rule of thumb to start with is to drop the recipe's temperature by 25°F and then cut the cooking time by about 20%.
The Simple Formula for Crispy Results
That quick guideline—less heat, less time—is your golden ticket for adapting almost any oven-based dish. I always tell people to think of an air fryer as a small, super-charged convection oven. Its powerful fan circulates hot air like a whirlwind, cooking food much faster and creating that signature crispy exterior we're all after.
This efficiency is precisely why a direct one-to-one transfer from your conventional oven just won't cut it. If you don't make those adjustments, you'll almost always end up with something burnt on the outside but still raw on the inside. Nobody wants that.
This simple formula is a reliable baseline, whether you're whipping up crispy chicken wings, roasting vegetables, or just reheating last night's pizza. It's a method that's clearly caught on, as the global air fryer market has exploded. Production has skyrocketed, hitting an incredible 77.8 million units in 2024—nearly four times what it was in 2019. It just goes to show how many home cooks are embracing this quicker, crispier way of cooking. You can check out more market insights and the full scoop on the rise of air fryers right here.
Mastering the Basics
The real key to a perfect oven-to-air-fryer conversion is using that baseline adjustment as your starting point and then just keeping an eye on things. Every air fryer is a little different—wattage, basket size, and even the model can change how things cook.
- Start low and slow(ish): Always err on the side of caution and begin with the shortest recommended cooking time. You can always pop it back in for another 2-3 minutes, but you can’t un-burn your food.
- Shake and flip: I can't stress this enough—shaking the basket or flipping your food about halfway through is crucial. This helps that hot, circulating air hit every single surface, giving you that beautiful, even, golden-brown finish.
- Give it space: Don't overcrowd the basket! A single, even layer allows for maximum airflow, and that airflow is what creates the magic crunch.
This infographic is a fantastic visual reference for these core temperature and time adjustments.
As a handy cheat sheet, I've put together a quick conversion chart based on my own experience.
Quick Oven to Air Fryer Conversion Chart
Think of this table as a starting point. Your specific air fryer and the type of food you're cooking might require slight tweaks, but this will get you in the right ballpark every time.
| Oven Temperature (°F) | Suggested Air Fryer Temperature (°F) | Oven Time | Suggested Air Fryer Time |
|---|---|---|---|
| 350°F | 325°F | 20 minutes | 15-16 minutes |
| 375°F | 350°F | 30 minutes | 22-24 minutes |
| 400°F | 375°F | 45 minutes | 35-36 minutes |
| 425°F | 400°F | 25 minutes | 18-20 minutes |
Once you get a feel for how your machine works, you'll be converting recipes like a pro without even thinking about it. Use these guidelines, trust your gut, and get ready for some seriously delicious results.
Why Air Fryer Cooking Is a Different Game
If you really want to get great results, you need to understand why you can't just use the same settings from an oven recipe. It’s easy to think of an air fryer as just a tiny oven, but it's really a completely different beast—a high-powered convection machine built for speed and intensity.
The secret is the powerful fan that blasts superheated air all around the food in a very small space. This creates an incredibly intense cooking environment that gets things crispy and golden in a fraction of the time. This is exactly why a straight oven to air fryer conversion just doesn't work.
Heat Intensity Meets Food Density
The type of food you're cooking changes everything. Different foods react to that blast of heat in totally different ways, and getting a feel for this is what separates the pros from the beginners.
- Dense Foods: Take a thick potato wedge or a chicken breast. These foods can handle the high heat because it takes time for the heat to cook the center. That intense air flow crisps up the outside beautifully while the inside gets perfectly cooked.
- Delicate Foods: Now think about a flaky piece of fish or some thin asparagus spears. If you hit those with the same high heat, the outside will be scorched black before the inside is even close to done. You need to drop the temperature more significantly to cook these gently.
- Sugary Coatings: Anything with a glaze or sugary sauce, like BBQ wings or teriyaki salmon, is in a category of its own. Sugar burns fast. In an air fryer, it burns extremely fast. You’ll need to lower the temperature even more than the standard 25°F to avoid a burnt, sticky mess.
The real skill is learning to match the air fryer's power to what you're cooking. It’s less about one magic formula and more about developing a cook's intuition for how different foods will behave under that intense heat.
The Rise of a Kitchen Staple
This hands-on cooking style is becoming second nature in homes everywhere. Air fryer adoption has exploded, and projections show that about 35% of households worldwide will have one by 2027. It's all part of a bigger shift toward appliances that cook healthier food, work faster, and use less energy. If you're curious about the numbers, you can dig into this detailed industry analysis to see the trend.
Getting this right means you can finally move beyond just following a conversion chart. Once you start thinking about food density and texture, you’ll be able to adapt any oven recipe on the fly. That's when you know you've truly mastered your air fryer.
How to Prep Your Food for That Perfect Air Fryer Crunch
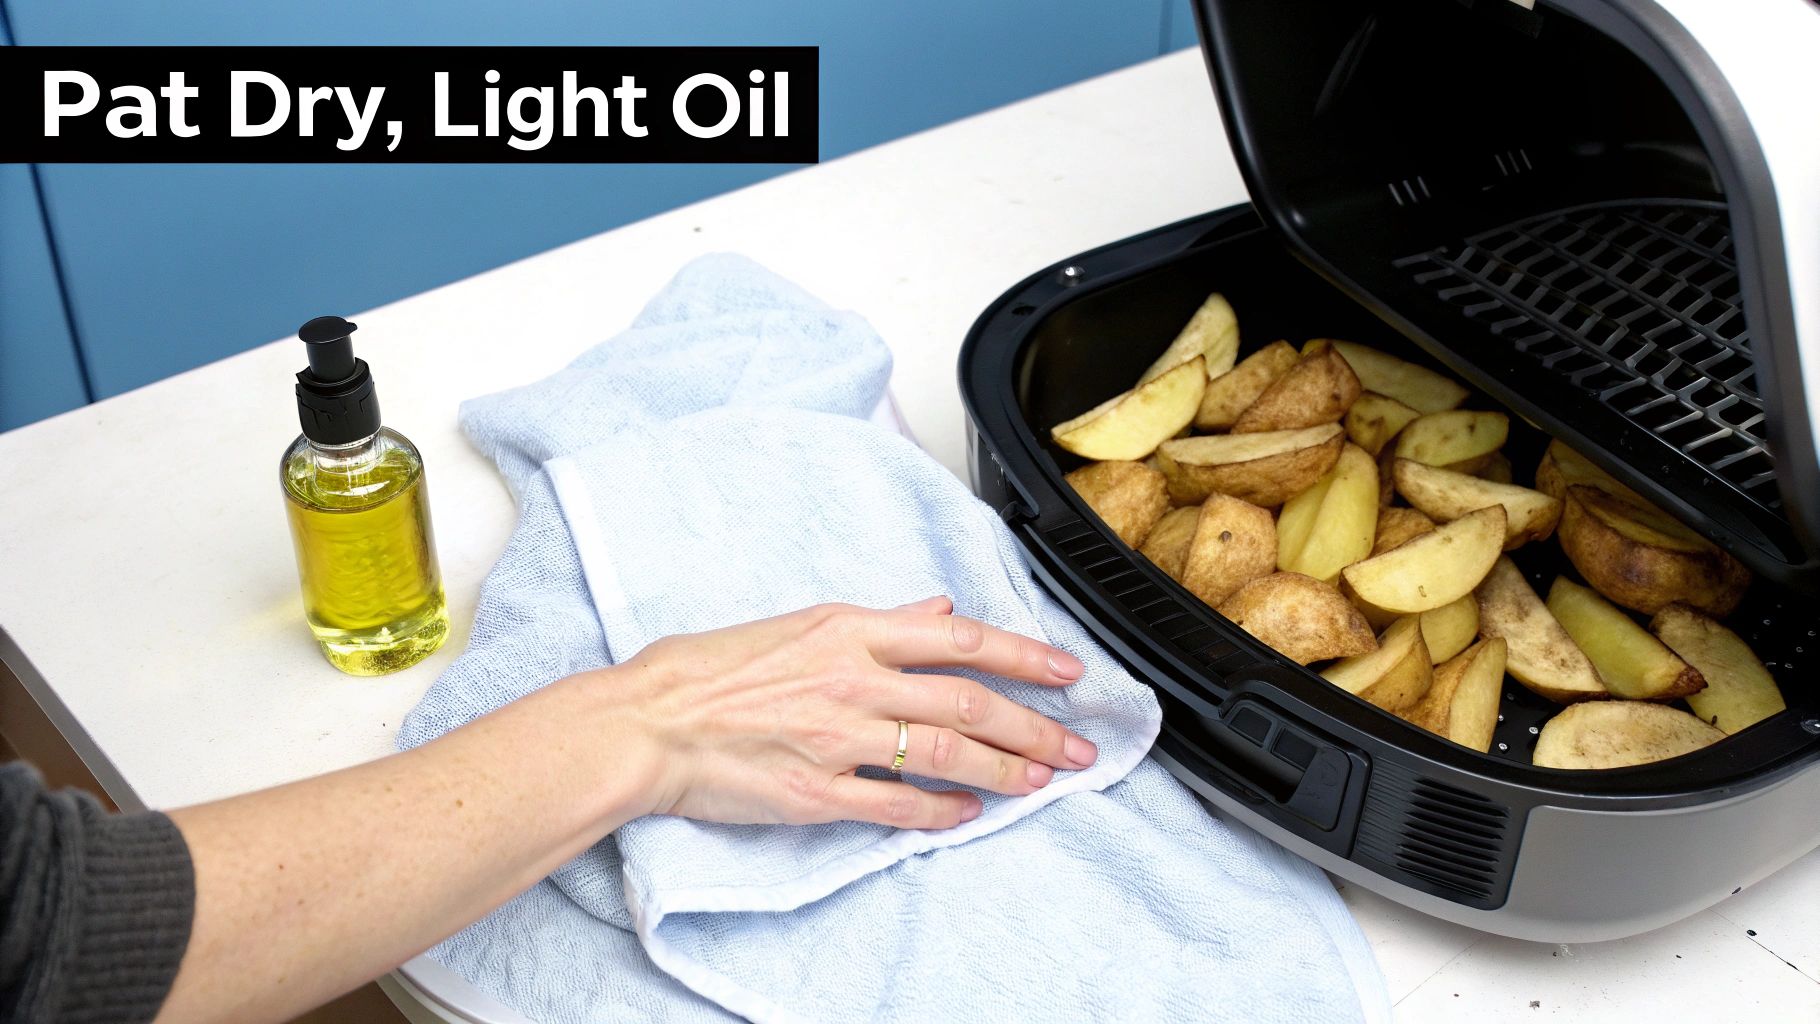
That incredible, crispy texture you're chasing? It all starts long before your food ever hits the air fryer basket. Getting the prep right is the real secret behind a golden, crunchy result versus a soggy, disappointing one. If you want to master your oven to air fryer conversions, these simple steps will make all the difference.
Let's start with oil. When you're using a conventional oven, you might douse your veggies or chicken in oil to get them to brown up. Try that with an air fryer, and you'll end up with a greasy, smoking mess. The golden rule here is that less is always more. A quick spritz or a toss in just a teaspoon of a high-smoke-point oil (think avocado or grapeseed) is all you’ll ever need.
The air fryer's powerful fan does the heavy lifting, rendering fat and crisping up surfaces all by itself. Any extra oil just ends up pooling in the bottom of the basket, which not only creates smoke but also gets in the way of that light, crispy finish we're all after.
The Two Golden Rules of Air Frying
If you only remember two things from this guide, make them these. They might seem minor, but they are absolutely non-negotiable for getting great results.
-
Pat everything dry. Seriously. Moisture is the mortal enemy of crispiness. Whether you're working with chicken wings straight from the package or broccoli you just rinsed, surface water will create steam. Steam is great for vegetables, but it's terrible for getting that crunch. Always, always pat your food down with a paper towel until it's completely dry before you even think about seasoning it. The drier the surface, the faster it will crisp.
-
Don’t overcrowd the basket. This is easily the most common mistake I see people make. An air fryer is basically a small convection oven that works by blasting hot air all around your food. If you stack everything in a big pile, that air can't get where it needs to go. The result? You'll get food that's steamed on the bottom and unevenly cooked on top.
For instance, if you're making French fries, lay them out in a single layer. You should be able to see the bottom of the basket between the pieces. Cooking a big batch of wings for game day? It's so much better to cook them in two separate batches than to try and cram them all in at once.
My rule of thumb: Every piece of food needs its own personal hot air tornado to get crispy. Overcrowding turns that tornado into a weak, steamy breeze.
Seasoning for a Windstorm
Finally, a quick word on seasoning. The fan inside your air fryer is powerful, and it can whip loose spices right off your food. Finely ground herbs can easily get blown around, creating a mess and sometimes even burning onto the heating element.
To make sure your seasoning actually stays put, mix it into that small amount of oil first, then toss it with your food. The oil acts like a glue. And for any delicate fresh herbs like cilantro or parsley, just wait and toss them on after the food is done cooking. They're too fragile to handle the heat and will just burn and fly away.
Nailing these prep tips is the key to making sure every oven to air fryer conversion comes out with that perfect, satisfying crunch you were hoping for.
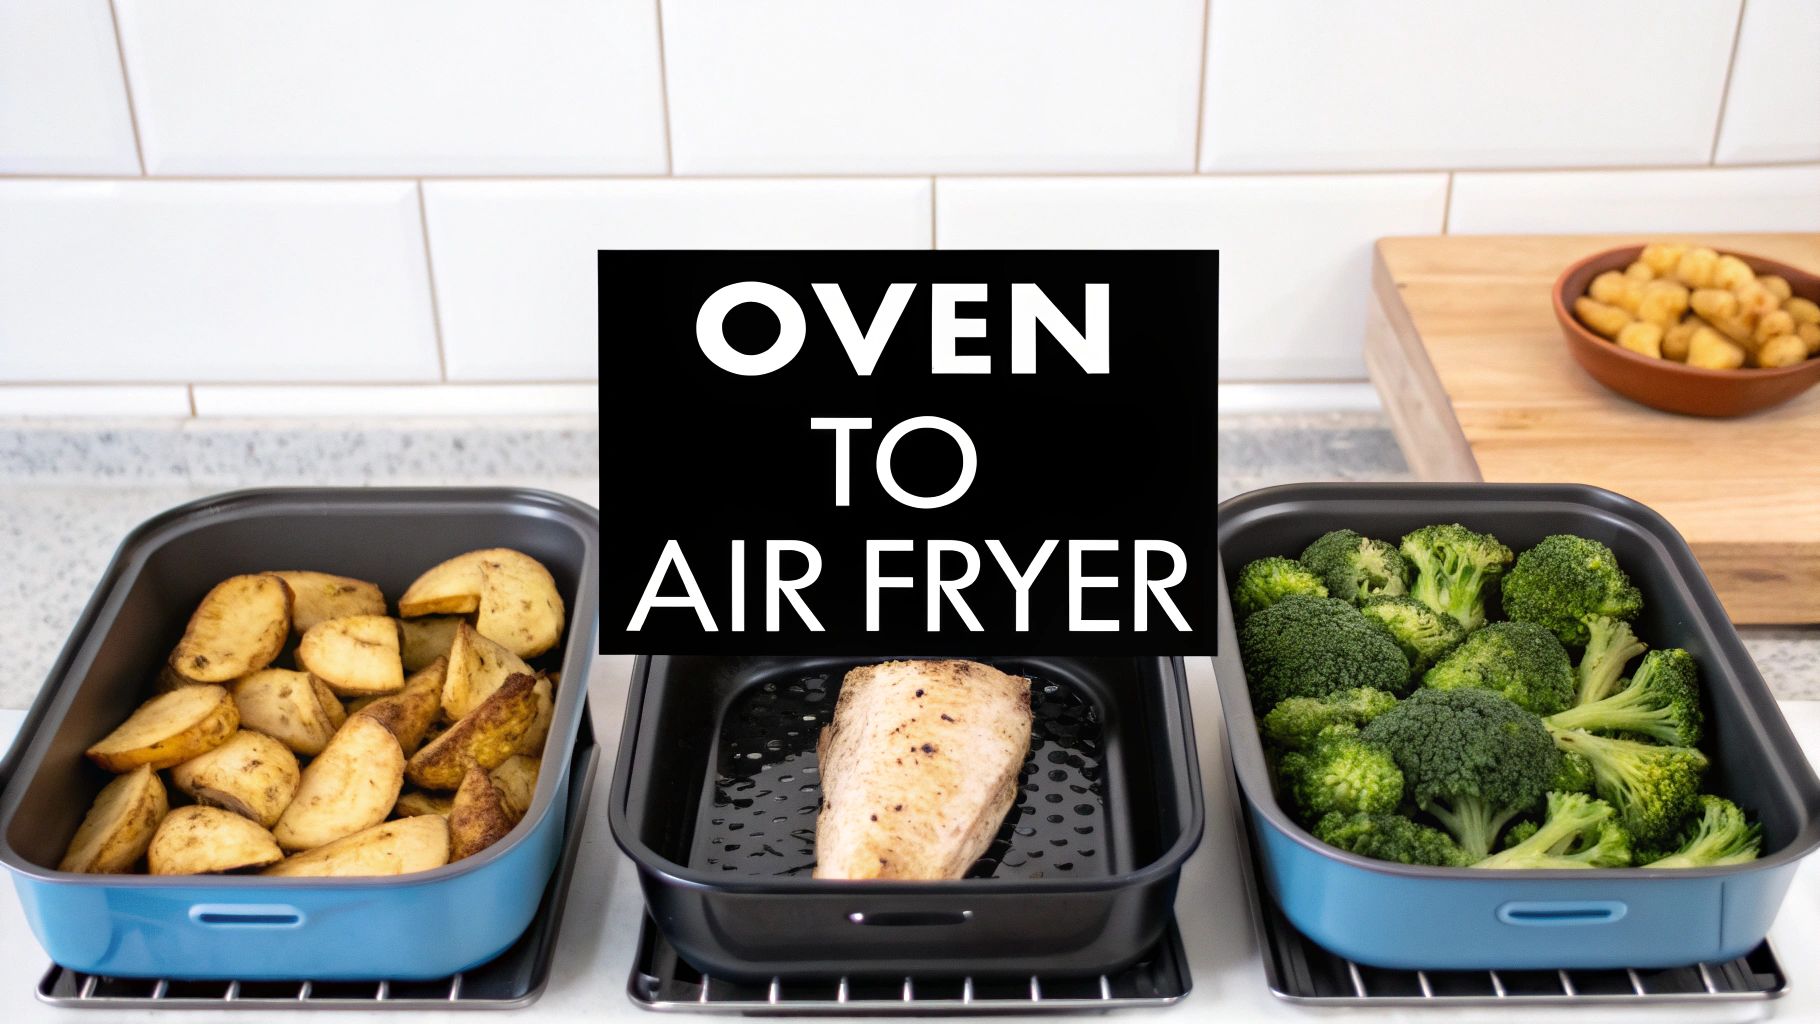
Applying Your Conversion Skills to Real Recipes
The charts and rules are a great starting point, but true confidence comes from getting your hands dirty. This is where we close the gap between knowing the rules and actually cooking a delicious meal.
Let's walk through a few common oven recipes. I'll show you my exact thought process for making the switch to an air fryer, so you can see how it works in the real world. You'll quickly see it's less about strict formulas and more about understanding your ingredients and your appliance.
Recipe Conversion Examples
To really see the difference, let’s look at a few popular recipes side-by-side. The table below shows the original oven instructions next to my go-to air fryer conversions, along with notes on why I made those specific changes.
| Recipe | Original Oven Instructions (Temp & Time) | Converted Air Fryer Instructions (Temp & Time) | Key Adjustment Notes |
|---|---|---|---|
| Crispy Roasted Potatoes | 400°F for 40–45 minutes | 375°F for 20–25 minutes | Standard 25°F temp drop. Time is nearly halved due to intense air circulation. Shaking the basket is crucial for even browning. |
| Garlic Parmesan Broccoli | 400°F for 15–20 minutes | 350°F for 8–10 minutes | Dropped temp by 50°F to prevent garlic from burning. Cheese is added in the last 2 minutes so it melts perfectly without flying around. |
| Frozen Fish Fillets | 425°F for 17–20 minutes | 400°F for 10–12 minutes | Classic 25°F reduction. Time is cut significantly, making for an extra-crispy exterior and a perfectly cooked interior. |
These examples show how you start with the basic rules but then tweak them based on the specific food you're cooking.
Breaking Down the Logic: From Potatoes to Broccoli
Let's dig a little deeper into the "why" behind those adjustments.
Take Crispy Roasted Potatoes, a classic favorite. In a conventional oven, they take ages—roasting at 400°F for 40–45 minutes. For the air fryer, I follow the standard rule: drop the temperature by 25°F (to 375°F) and cut the time almost in half (to 20–25 minutes). Potatoes are dense and can handle the heat, but the air fryer’s powerful convection gets them crispy in a fraction of the time. Don’t forget to shake the basket! It’s the air fryer equivalent of flipping and ensures all sides get that golden-brown finish.
Now, for something more delicate like Garlic Parmesan Broccoli. The original recipe calls for 400°F for 15–20 minutes. If we just dropped the temp to 375°F, the tiny bits of minced garlic would scorch and turn bitter long before the broccoli is tender. So, I make a more significant adjustment, dropping the temperature a full 50°F to 350°F. This gives the broccoli stems time to cook through while gently toasting the garlic.
A successful conversion isn't just about math; it's about anticipating how different ingredients will react to the air fryer's intense environment. Delicate items like garlic, herbs, or cheese often need a lower temperature or should be added later in the cooking process.
The Air Fryer's Sweet Spot: Frozen Foods
When it comes to frozen foods, the air fryer is in a league of its own. It often produces a far crispier result than you could ever get from a standard oven.
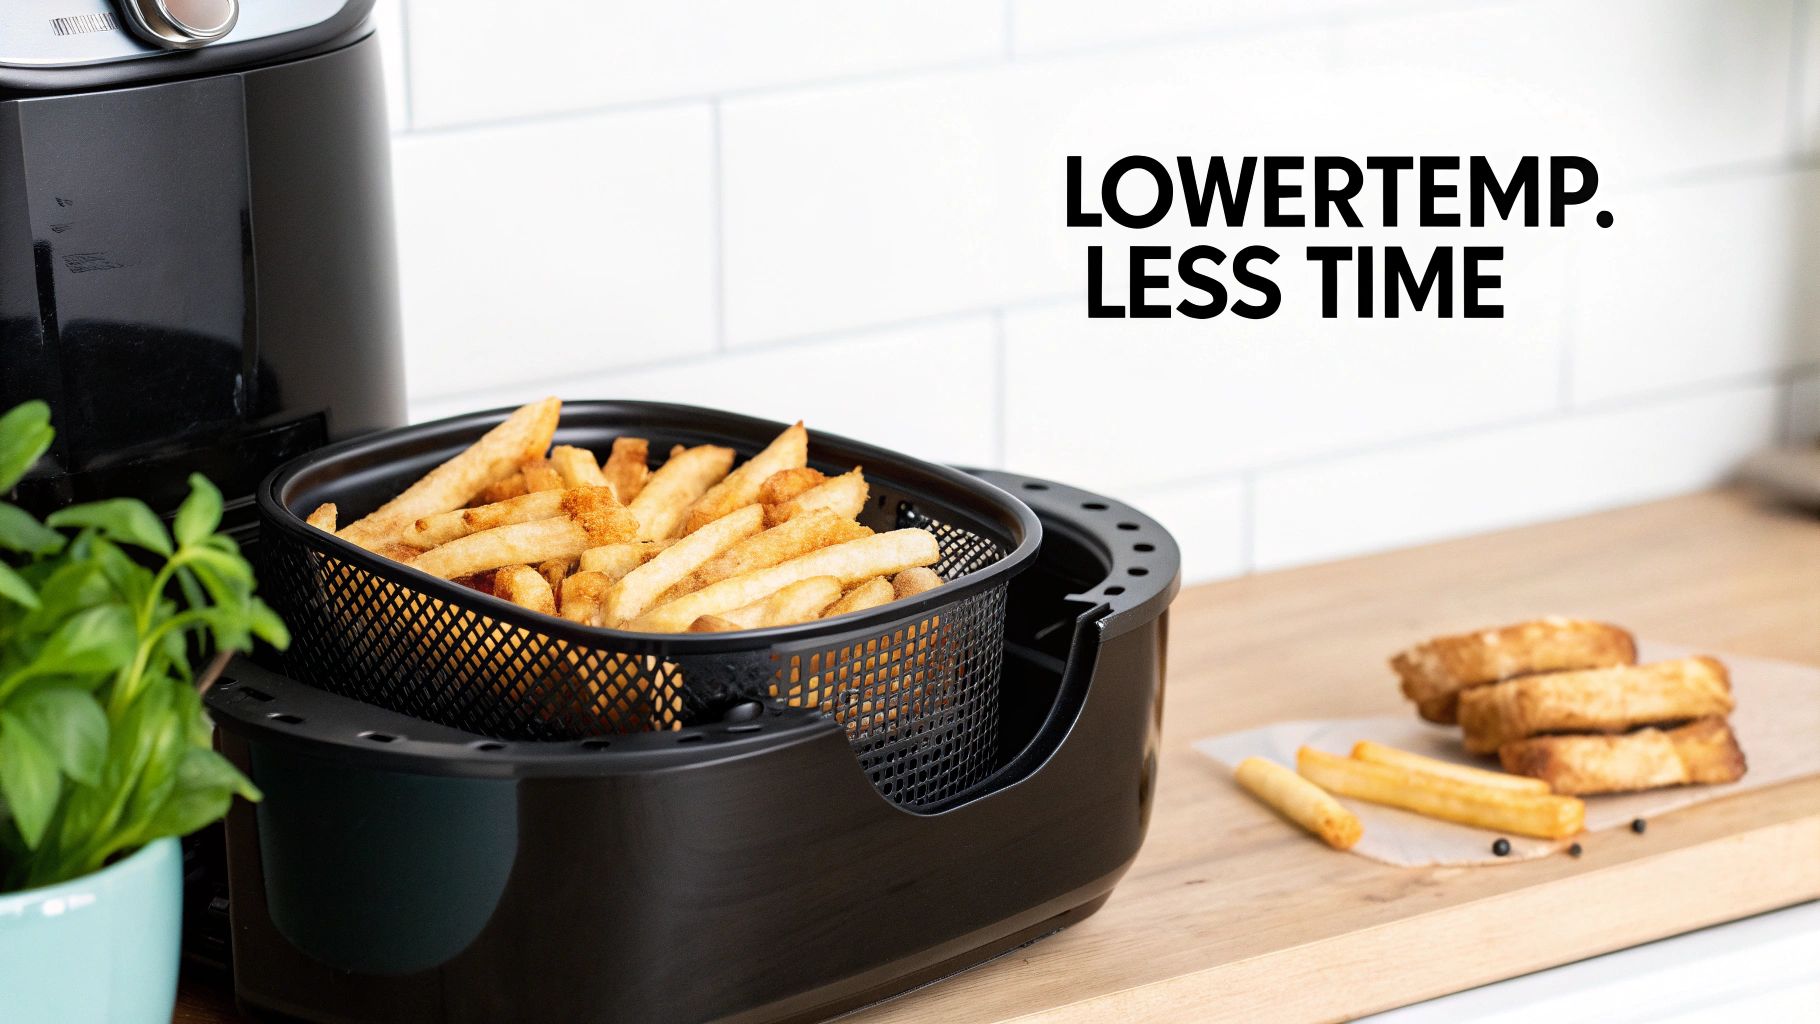
Consider Frozen Fish Fillets. The box says to bake at 425°F for 17–20 minutes. In the air fryer, I stick close to the basic formula: reduce the temperature by 25°F to 400°F. The cook time, however, is slashed to just 10–12 minutes. That powerful fan circulates hot air all around the frozen fillets, crisping up the breading beautifully while steaming the fish inside.
These quick snack conversions are a real game-changer. For instance, discovering you can make a perfect bagel in the air fryer can totally transform a busy morning routine. It's all about using the appliance to its strengths.
Insider Tips for Flawless Air Frying Results
Knowing the basic temperature and time adjustments is half the battle. But the real secret to consistently amazing results? It's all in the little details and techniques you pick up along the way. These are the habits that turn a good meal into a great one when you're doing an oven to air fryer conversion.
Let’s talk about preheating. Do you really need to? Honestly, it depends. If I’m just tossing in some frozen fries or reheating pizza, I usually skip it. But for anything I want to get a beautiful, crispy sear on—like a steak or a thick chicken breast—preheating is non-negotiable. Those three extra minutes get the basket scorching hot, creating an instant crust the second the food hits it.
It's no surprise so many kitchens now feature an air fryer. The global market is expected to jump from USD 1.5 billion in 2025 to a whopping USD 2.9 billion by 2034. That surge shows a massive shift away from traditional ovens toward this quicker, more efficient way of cooking. You can check out the full market growth insights here.
Using Accessories and Thinking About Food Size
Accessories can make your life so much easier, but you have to use them correctly. Those parchment paper liners are fantastic for cleanup, but they can also completely block the airflow if you’re not careful. If you're going to use them, make sure they're the perforated kind made specifically for air fryers. This lets the hot air circulate properly underneath your food.
The size and density of your food matter, too. A handful of thin asparagus spears just needs a quick blast at high heat. A thick, bone-in chicken thigh, on the other hand, needs a bit more finesse. For that, you’ll want to drop the temperature a bit and cook it longer to make sure it’s cooked all the way through without burning on the outside.
Here's a good rule of thumb I follow: The thicker or denser the food, the more you should lower the temperature from your initial calculation. This gives the heat time to get to the center before the outside gets too crispy.
My Go-To Checklist for Perfect Results
I’ve learned a few things the hard way. To help you avoid the same mistakes, here’s a quick mental checklist I run through before I start cooking.
- Don't Forget the Gap. If you're using a rack to create a second layer, remember that the food on top will cook faster because it's closer to the heat source. I always plan to swap the layers about halfway through the cooking time.
- Avoid Sticky Situations. For anything with a sugary sauce or glaze (like BBQ wings), wait to brush it on until the last few minutes of cooking. Sugar burns incredibly fast under that intense, direct heat.
- Shake It, Don't Stir It. It’s tempting to grab a spatula and stir things around, but a good, firm shake of the basket is almost always better. It redistributes everything without mashing up more delicate foods like breaded fish or veggie tots.
Troubleshooting Common Air Fryer Conversion Issues
Even when you follow the rules, things can go a little sideways when converting an oven recipe to an air fryer. Don't sweat it. Most of the time, the fix is simple, and learning to read the signs will make you a conversion pro in no time.
Let's walk through some of the most common hiccups and how to solve them.
What to Do When Food Comes Out Too Dry
One of the most frequent complaints I hear is about food turning out dry and tough. This almost always means the cook time was just a minute or two too long for that specific food. The super-hot, circulating air that makes an air fryer so great at crisping things up is also incredibly efficient at pulling out moisture.
The easiest fix? Start checking for doneness a few minutes before your converted time is up. For foods that are naturally lean and prone to drying out, like boneless chicken breasts or pork chops, a light spritz of oil partway through cooking can work wonders to seal in the juices.
Solving Uneven Cooking and Burning
Ever pull out the basket to find food that's perfectly golden on top but sadly pale and soft on the bottom? This is a classic symptom of an overcrowded basket. That powerful fan needs room to circulate air around every piece of food to work its magic.
Here’s how to get that perfect all-over crisp:
- Cook in Batches: I know it’s tempting to pile everything in at once, but you’ll get much better results by cooking in smaller, single-layer batches.
- Shake or Flip: This is non-negotiable! Set a timer halfway through your cook time to give the basket a good shake or to flip each item with tongs. It’s the single most important step for even browning.
Another common issue is food that’s burnt on the outside but still raw in the middle. This is a dead giveaway that the temperature is too high. The exterior cooks way too fast, long before the heat can penetrate through to the center.
The solution is simple: drop the temperature by another 15-25°F from your original conversion and add a few extra minutes to the clock. This gentler heat gives thicker foods, like bone-in chicken thighs or dense potato wedges, the time they need to cook through without incinerating the outside.
Dealing with Smoke and Other Hiccups
Seeing white smoke puffing out of your air fryer can be a little alarming, but it's usually an easy fix. It’s most often caused by grease from fatty foods (think bacon, sausage, or even a juicy burger) dripping down and hitting the hot drawer below.
A handy trick to prevent this is to place a small slice of bread in the bottom of the drawer—under the basket—to soak up the excess grease. A tablespoon or two of water down there works too. Little adjustments like these will give you the confidence to convert just about any recipe you can find.
Common Questions About Converting Oven Recipes
Once you get the hang of it, converting oven recipes to your air fryer will feel like second nature. But when you're just starting out, a few questions always seem to come up. Let's tackle those common head-scratchers so you can get cooking with confidence.
Can I Really Convert Any Oven Recipe to an Air Fryer?
Almost! Recipes for roasting veggies, baking chicken, or heating up frozen snacks are prime candidates for the air fryer. They'll come out fantastically crispy in way less time.
There are a few exceptions, though. Anything with a super wet batter—think tempura or beer-battered fish—is a no-go. The powerful fan will just blow the liquid coating right off before it can set. Huge items, like a whole turkey, are also tricky because they won't fit or cook evenly. A good rule of thumb is if you'd normally cook it on a baking sheet, it'll probably work great in the air fryer.
Do I Need to Adjust Ingredients Besides the Oil?
Mostly, it's just the oil you need to cut back on. That said, you do have to be a little careful with loose seasonings and delicate fresh herbs. The fan can turn your spice cabinet into a whirlwind, making a mess and burning the little bits.
Here's a pro tip: mix your seasonings with a tiny bit of oil or press them firmly onto the food so they stick. For fresh herbs like cilantro or parsley, it’s always better to add them after cooking. Also, go easy on liquid marinades. Too much can drip down and cause your air fryer to smoke.
For more snack-specific ideas and tricks, you can always find great articles on our blog.
How Is This Different From a Convection Oven Conversion?
Ah, great question. If your recipe is already written for a convection oven, you're way ahead of the game. Since a convection oven also uses a fan to circulate hot air, its cooking style is very similar to an air fryer's.
You'll find the temperature and time are almost a perfect match. You might only need to drop the temperature a tiny bit, if at all, and reduce the cooking time by just 10-15%. That small adjustment accounts for the air fryer's more compact and powerful cooking space.
At airfryersnackideas.com, we're all about making delicious food simple and fun. Explore our site for endless recipes and tips to make the most of your air fryer: https://airfryersnackideas.com