
Here’s the deal: making incredible frozen garlic bread in your air fryer is ridiculously easy. You're looking at a sweet spot of 350°F (175°C) for about 5-8 minutes, with a quick flip halfway through. The best part? No preheating necessary. Just pop it in, and you're minutes away from golden-brown, buttery perfection.
Your Shortcut to Perfectly Crispy Garlic Bread
If you're tired of pulling sad, soggy garlic bread from the oven or, even worse, the microwave, the air fryer is about to become your best friend. It works by circulating hot air, which is the secret to getting that amazing crunch on the outside while keeping the center perfectly soft and garlicky.
It's no surprise that people are catching on. The global frozen garlic bread market soared to USD 1.62 billion in 2024, largely because home cooks want delicious, foolproof results without the fuss. It's just one of those simple upgrades that makes a weeknight meal feel a little more special. You can check out the full scoop on this trend in Dataintelo's market report.
To make it even easier, here's a quick visual cheat sheet with the essential settings.
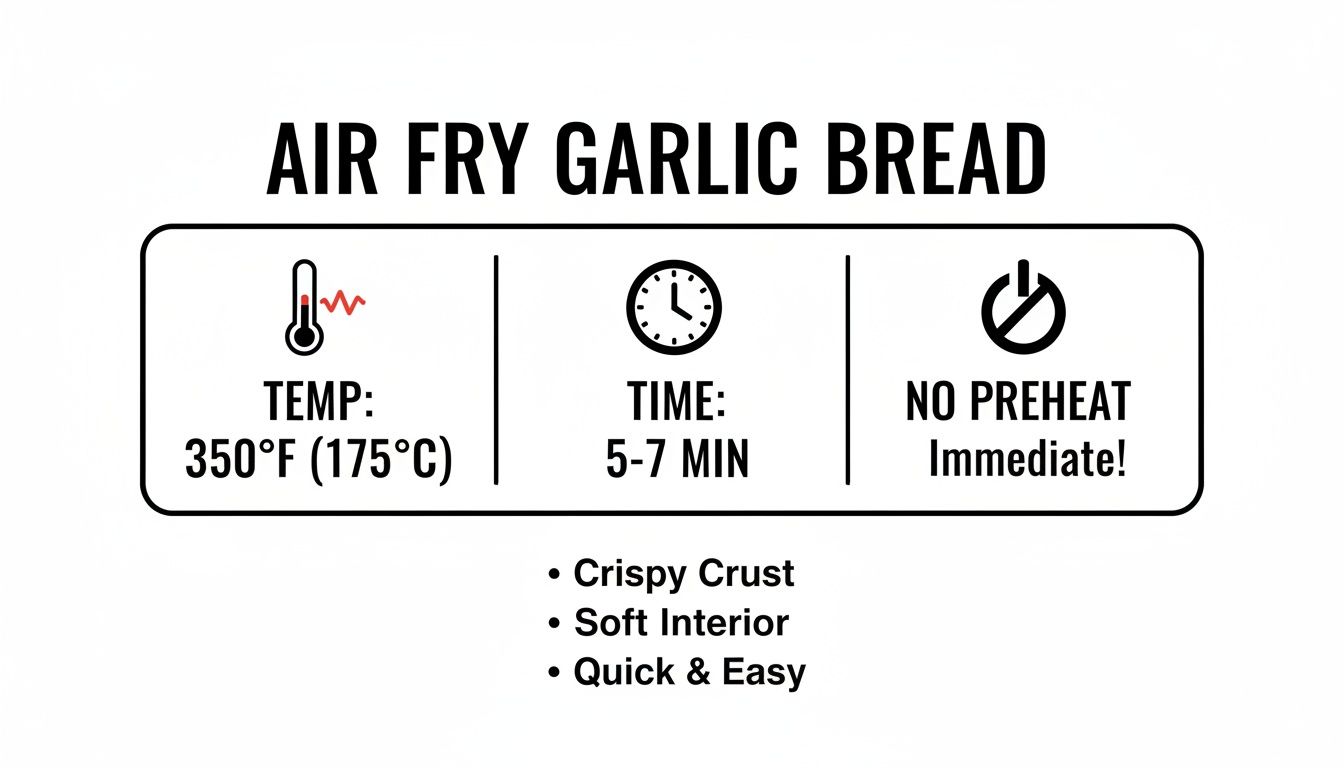
The main takeaway here is just how simple it is: a moderate temperature and a short cook time get the job done beautifully. Getting that perfect texture is a skill, and once you nail this, you might even be inspired to make your own homemade french fries that are actually crispy next.
Getting to Know Your Garlic Bread
Not all frozen garlic bread is the same, and knowing the difference is key to getting that perfect air-fried finish. Your approach will change depending on what you pull out of the freezer.
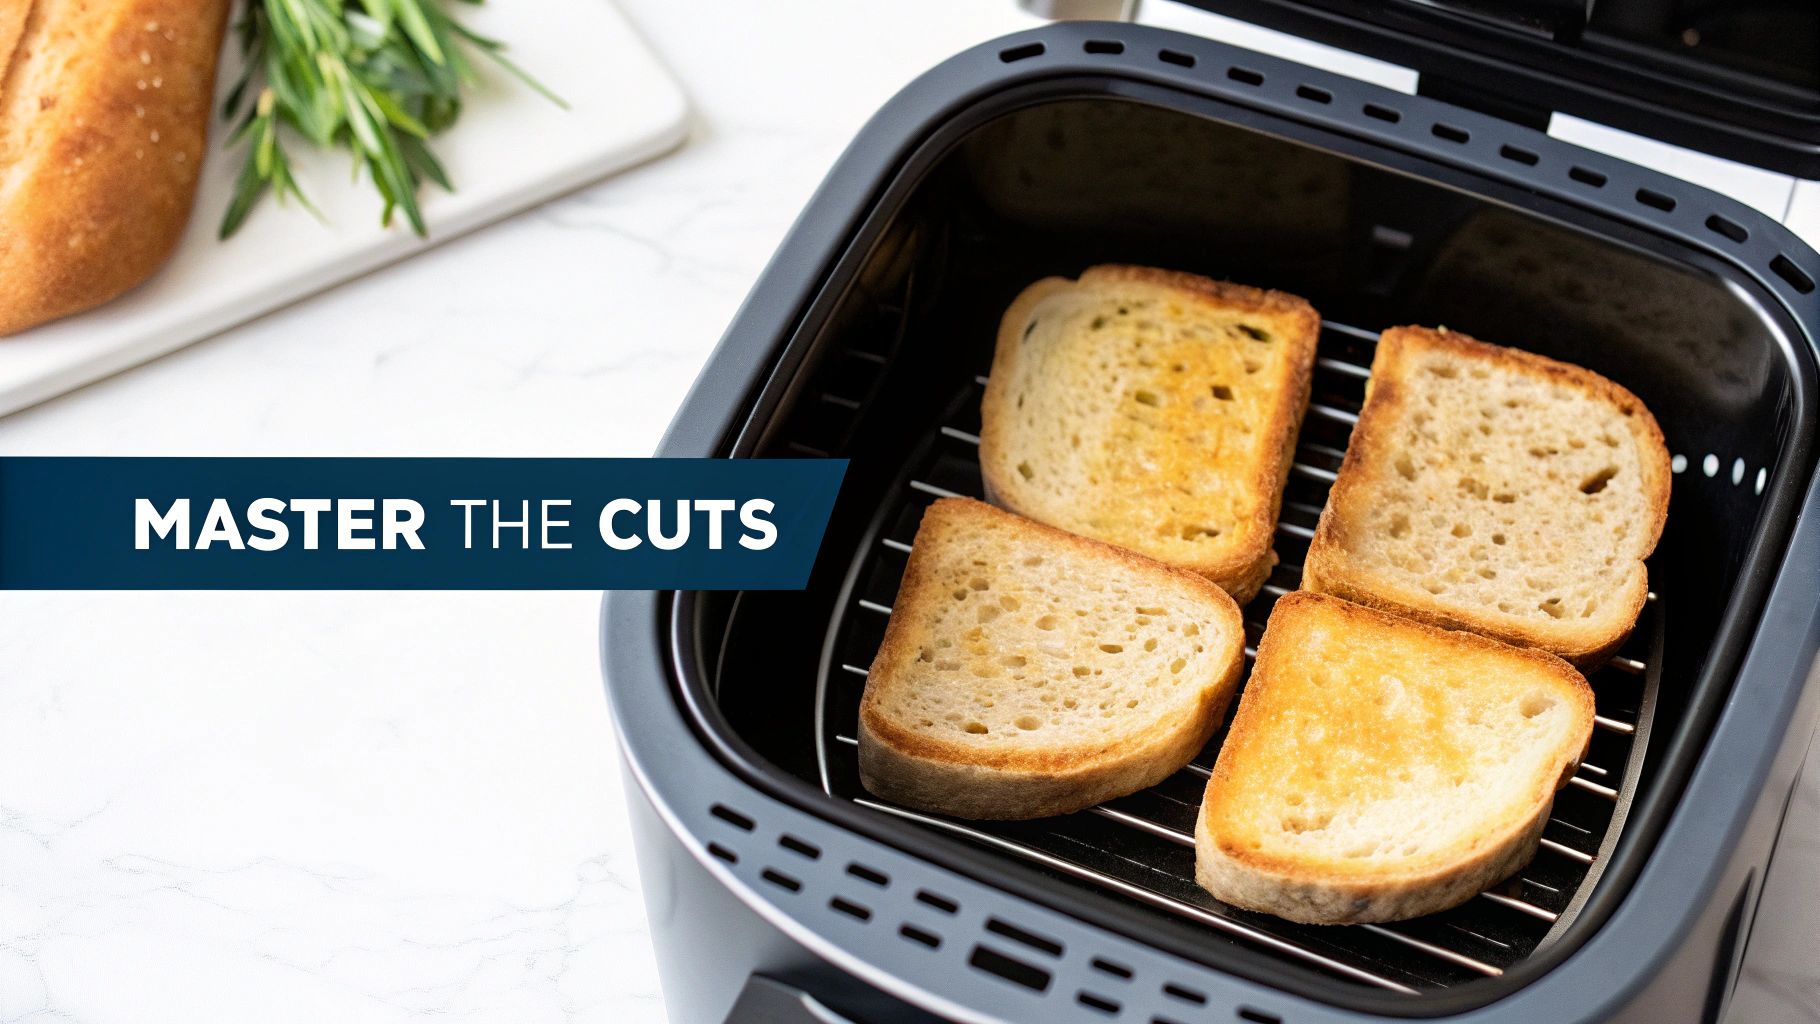
Thick Slices vs. Baguettes
If you're working with those big, hearty slices of Texas toast, your main goal is giving them space. You need to arrange them in a single layer inside the basket, making sure they aren't overlapping. This lets the hot air do its job, circulating all around each slice for that beautiful, even crunch.
Thinner baguette slices are a bit more delicate. They cook much faster, so you’ll want to shave a minute or two off the total cook time. This keeps the edges from getting too dark before that buttery, garlicky center has a chance to melt perfectly.
What About a Whole Loaf?
A whole mini-loaf is a different beast altogether. For these, I always recommend lowering the temperature a bit. This gives the inside enough time to get warm and soft without turning the crust into a brick.
My Takeaway: Understanding why that 350°F (175°C) setting is the go-to for most frozen garlic bread is what separates good results from great ones. It's the perfect balance for melting the butter and toasting the bread without burning anything. Once you get a feel for it, you'll be able to nail it every single time.
Easy Upgrades for Store-Bought Garlic Bread
Think of that frozen garlic bread as a blank canvas. It's great on its own, but a few simple touches can elevate it from a simple side to a truly standout appetizer. The most obvious, and arguably best, upgrade? Making it cheesy.
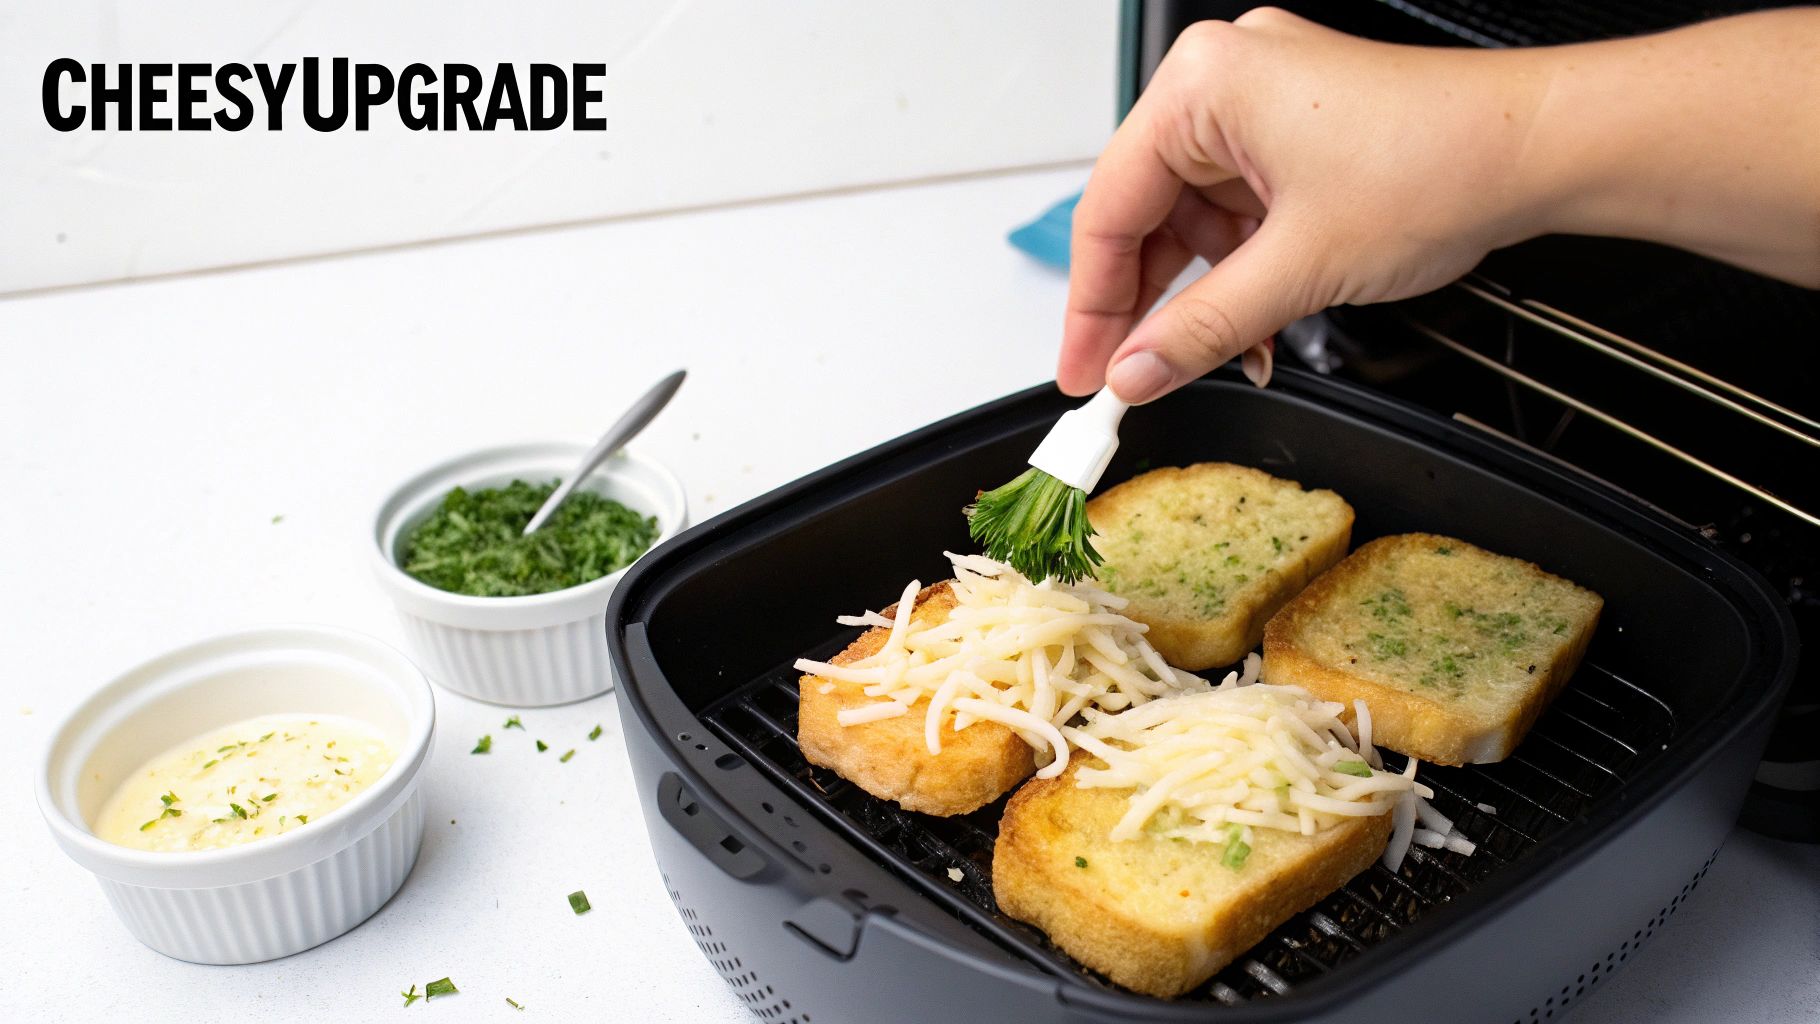
Making It Cheesy
My tried-and-true method is to sprinkle on some shredded mozzarella or a sharp parmesan right at the end. The key is to add it during the last two minutes of cooking. This gives the cheese just enough time to get gooey and bubbly without scorching.
For a little extra something, I also like to brush the slices with a quick garlic butter mixture before they go into the air fryer. Just melt a little butter and stir in some fresh parsley and a dash of garlic powder. It really punches up the flavor.
My Favorite Trick: If you have thick-cut Texas toast, try this for an incredible game-day snack. Carefully slice a pocket into the side of the bread before air frying. Stuff it with a piece of provolone and a few slices of pepperoni. You get an instant pizza pocket that's a total crowd-pleaser.
These simple ideas can really transform a basic freezer staple. If you're hunting for more quick and easy air fryer recipes, check out how I make a perfect bagel in the air fryer. It's another game-changer.
Common Air Fryer Garlic Bread Mistakes to Avoid
Even though using an air fryer for frozen garlic bread is incredibly simple, a couple of common missteps can ruin the result. I've seen it happen time and time again.
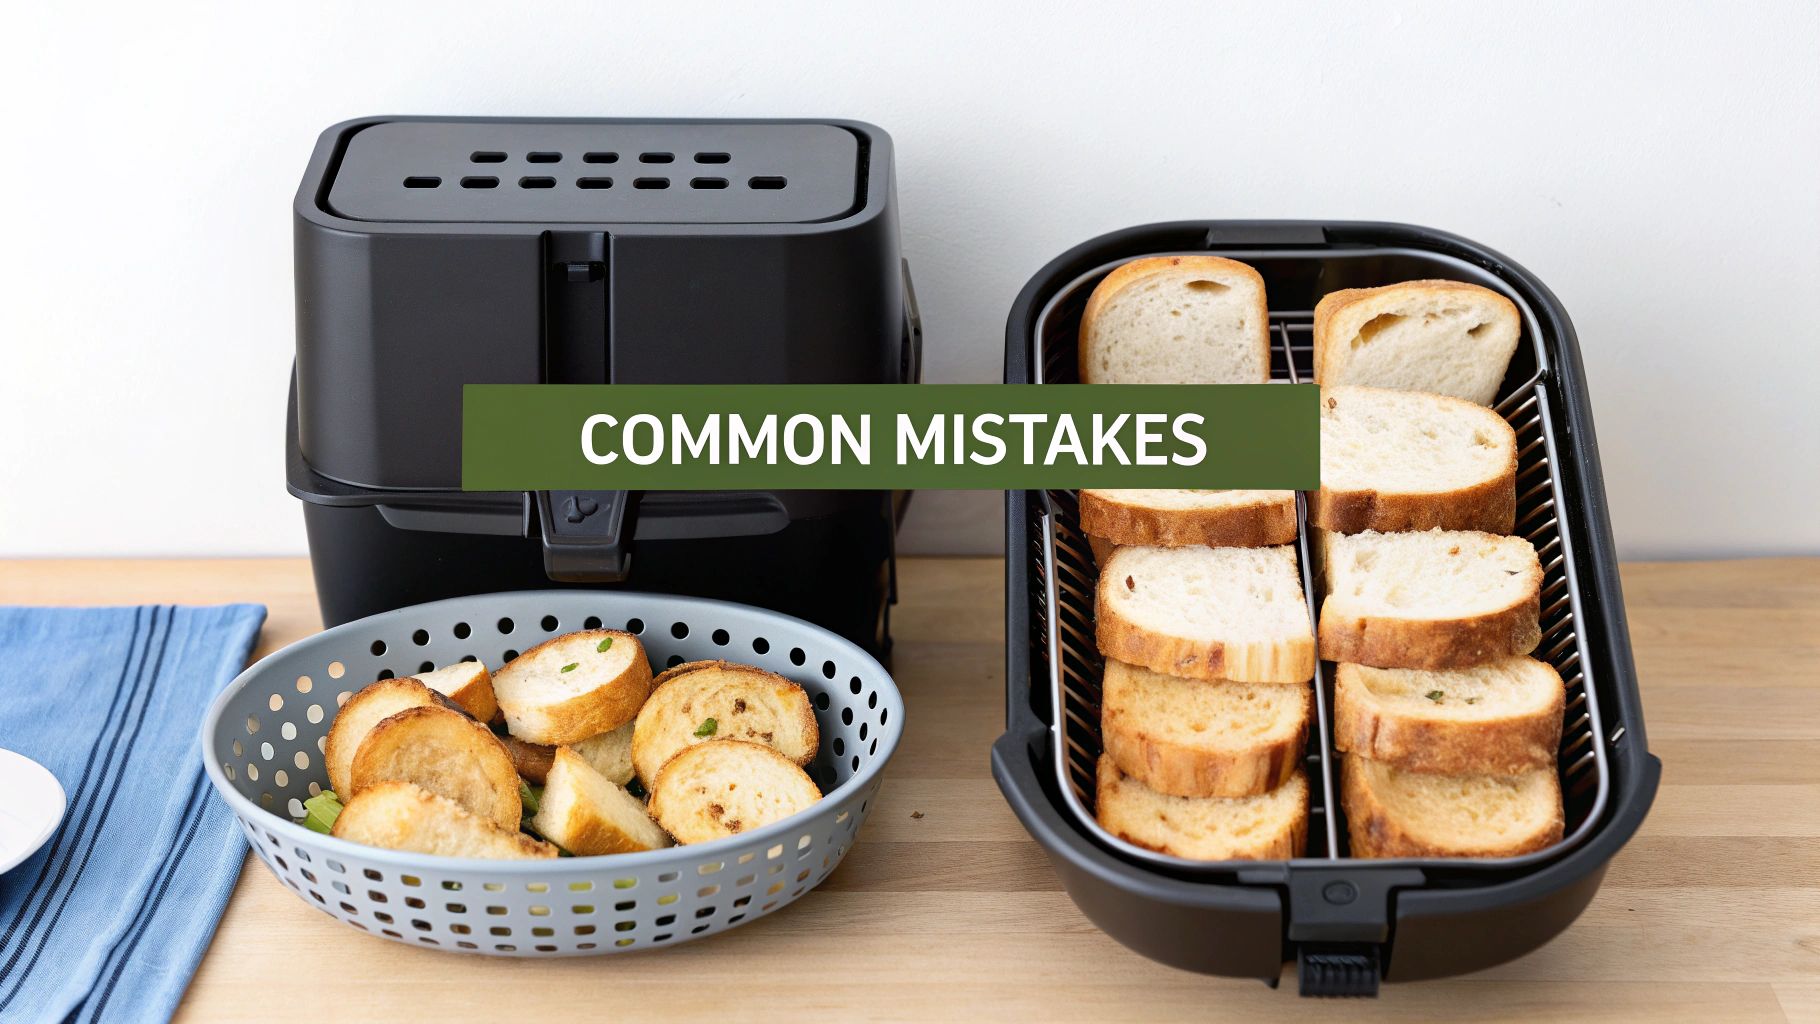
The biggest mistake? Overcrowding the basket.
It's tempting to cram as many slices in as possible, but they need breathing room. If the hot air can't circulate freely around each piece, you'll end up with unevenly cooked bread—think soggy patches and pale, soft spots instead of that perfect all-over crunch.
Another classic error is setting the temperature too high. Blasting it with heat might seem like a shortcut, but you'll likely just burn the outside before the center has a chance to thaw and get warm. The goal is golden-brown, not scorched.
Finally, don't forget the flip. Skipping this crucial step is a surefire way to get a beautifully crisp top with a disappointing, soft bottom.
My Two Cents: Seriously, just set a timer for the halfway point and flip the bread. It takes ten seconds and makes all the difference in achieving that perfect, uniform texture we all want.
Steer clear of these simple pitfalls, and you'll get consistently fantastic garlic bread from your air fryer every single time.
Serving, Storing, and Reheating Your Garlic Bread
Okay, so you've nailed making the perfect air fryer garlic bread. Now for the fun part: serving it up! Don't just toss it on a plate next to spaghetti—though that's a classic for a reason.
Let's get creative. I love slicing the finished loaf into thick sticks. They're perfect for dunking into a warm bowl of tomato soup or a hearty chili. You can also turn them into a super-fast appetizer by topping them with some chopped fresh tomatoes, basil, and a little balsamic glaze for a quick bruschetta.
How to Handle Leftovers
If you somehow end up with leftovers (a rare event in my house), don't let them go to waste. The key is to let the bread cool down to room temperature first. Then, wrap it up tightly in aluminum foil to keep it from getting stale.
Pro Tip: The absolute best way to bring leftover garlic bread back to life is to pop it right back in the air fryer. Forget the microwave—it just makes it soggy. A quick blast for 2-3 minutes at 350°F (175°C) will make it warm and crispy again, almost as good as when it was first made.
Why Your Air Fryer Is the Secret to Perfect Garlic Bread
Ever pulled a soggy-bottomed loaf of garlic bread from the oven? I’ve been there. The air fryer completely changes the game. It’s all thanks to how it works: a powerful fan blasts hot, dry air all around the bread, creating an incredibly crisp crust while keeping the inside soft and buttery.
Think of it as a miniature version of the powerful commercial convection ovens used in restaurants. You get that same professional-level crispiness right on your countertop.
But it's the sheer speed and convenience that really make it a winner. You can literally go from a rock-solid loaf in the freezer to a perfectly golden, fragrant side dish in under 10 minutes. No waiting for the big oven to preheat, no wasted energy.
It's no surprise that during the pandemic, when we were all cooking more at home, frozen bread sales jumped by 17.2%. People discovered that appliances like the air fryer weren't just a trend; they genuinely deliver better, faster results for everyday foods like this.
Got Questions? We've Got Answers
You've got the basics down, but maybe a few questions have popped up. That's completely normal when you're trying a new cooking method.
Let's walk through some of the most common questions I get about making frozen garlic bread in an air fryer. These quick tips will help you nail it every single time.